Make Up Numbers 3D SVG: A Practical Guide to Digital Numerals
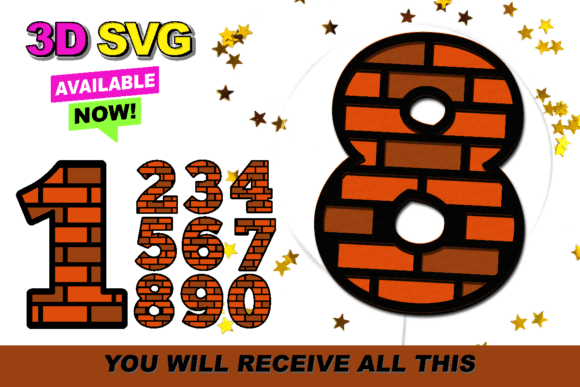
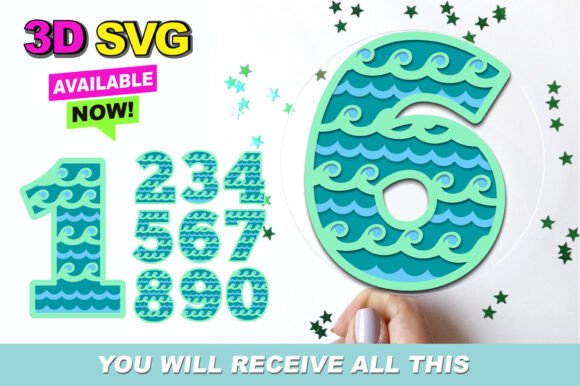
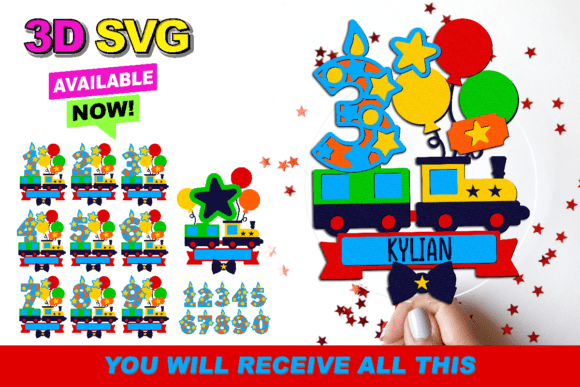
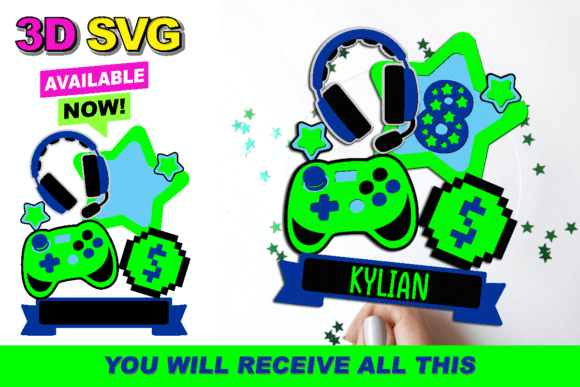
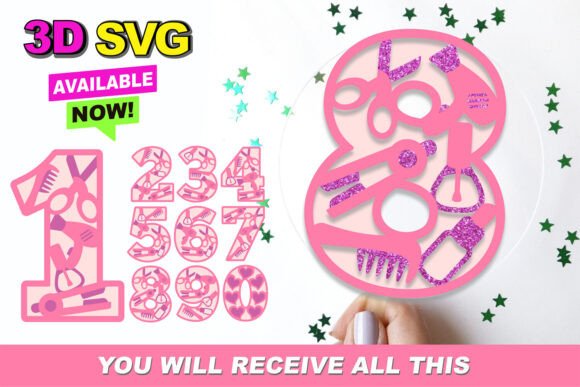
Creating visually striking projects often hinges on the quality of the digital assets you choose. When working on custom apparel, cake toppers, or unique stickers, the difference between a flat design and one with depth can transform the final product. This is where Make Up Numbers 3D SVG files become essential for creators seeking that extra dimension without the complexity of 3D modeling software. These files offer numerals from 0 to 9 in a compressed digital arrangement designed specifically for cutting machines and graphic design workflows.
The appeal of this novel 3D SVG collection lies in its versatility. Whether you are a small business owner printing custom tees or a hobbyist crafting birthday decorations, having access to high-quality, pre-rendered three-dimensional numbers saves hours of manual design time. However, simply downloading a file does not guarantee a perfect cut or print. Understanding how to properly evaluate, prepare, and apply these assets is crucial to avoiding wasted materials and frustration.
Understanding the Value of 3D Numerical Assets
Many beginners assume that any number font will suffice for their projects, but standard fonts lack the layered depth required for certain applications. Make Up Numbers 3D SVG files are distinct because they simulate depth through vector layers. Unlike a simple outline, these files contain multiple paths that, when layered during production, create a shadow or bevel effect. This makes them ideal for projects where visual impact matters, such as event signage, personalized gifts, or merchandise intended for sale.
The primary benefit of using a compressed digital arrangement like this is efficiency. Instead of manually creating shadows and offsets in your design software, the work is already done. You can import the file directly into platforms like Silhouette Studio or Cricut Design Space and immediately begin arranging your layout. For entrepreneurs managing tight deadlines, this streamlined workflow allows you to focus on assembly and finishing rather than tedious vector manipulation.
Common Pitfalls When Choosing Digital Files
Despite the convenience, there are frequent misunderstandings regarding what constitutes a usable 3D SVG file. One common mistake is assuming that "3D" means the file will automatically look three-dimensional after cutting. In reality, the 3D effect is achieved through layering different colors of vinyl, heat transfer material, or cardstock. If a creator expects a single-layer cut to produce a 3D result, they will be disappointed. The file provides the paths necessary to build the illusion of depth, but the physical execution requires multiple passes or color changes.
Another overlooked detail is the distinction between a true vector SVG and a raster image saved with an .svg extension. Some low-quality marketplaces sell images that appear to be vectors but are actually flattened pictures. When you try to edit these in your design software, you cannot separate the layers or resize them without losing resolution. Always inspect the file structure before committing to a purchase or download. A genuine Make Up Numbers 3D SVG should allow you to select individual layers, such as the base number and the shadow offset, independently.
Compatibility Checks Before You Start
While the collection is marketed as compatible with major platforms, compatibility issues can still arise if you do not verify your specific machine's capabilities. Not all cutting machines handle complex multi-layer files equally well. For instance, older models might struggle with intricate nesting or very small text details within the 3D numerals. Before proceeding, ensure your machine's firmware is up to date and that your software version supports the specific SVG features used in the collection.
It is also vital to check the file size and compression method. Highly compressed files sometimes lose path data during the conversion process. When you import the file into Cricut Design Space or Silhouette Studio, expand the layers immediately. If the software fails to recognize the separate components of the 3D effect, the file may have been corrupted or improperly formatted. Testing a single numeral at full scale before cutting an entire batch is a simple yet effective way to avoid wasting expensive materials.
Optimizing Your Workflow for Better Results
To get the most out of your digitized numerical toolkit, consider how you plan to use the layers. For example, when making cake toppers, you might want to use a contrasting color for the shadow layer to enhance the pop-out effect. Conversely, for custom-printed tees, a monochromatic approach with slightly offset layers can create a subtle, sophisticated look. The key is to experiment with spacing. If the offset is too wide, the number looks disconnected; if it is too narrow, the depth is lost.
Here are practical steps to refine your process:
- Inspect Layer Order: Ensure the base number is set to cut first, followed by the shadow or highlight layers. Incorrect ordering can lead to misalignment during weeding or pressing.
- Adjust Blade Depth: Thicker materials used for 3D effects often require deeper blade settings. Test cuts on scrap material to prevent incomplete cuts that ruin the project.
- Check Registration Marks: If you are printing and then cutting, ensure your software aligns the registration marks correctly with the 3D SVG paths.
Avoiding Costly Mistakes in Production
One of the most significant risks in using 3D SVG collections is underestimating the material usage. Because these designs involve multiple layers, you will consume more vinyl, iron-on, or paper than a standard flat design. Beginners often calculate costs based on the footprint of the number itself, forgetting the additional space needed for the offset shadows. This miscalculation can lead to running out of material mid-project, which is particularly frustrating when working with specialty colors.
Furthermore, the weeding process for 3D numbers can be more time-consuming. Small inner pieces of the shadow layers can be delicate and prone to tearing. Using a fine-point weeding tool and working slowly over a light source can mitigate this issue. It is also helpful to practice the weeding technique on a test piece before attempting it on your final product. Rushing this step often results in damaged edges, which detracts from the professional finish you aim to achieve.
Evaluating Quality and Long-Term Utility
When deciding whether to invest in a specific 3D SVG collection, look beyond the preview images. Read reviews that mention actual cutting experiences and file integrity. A high-quality set will include clear instructions on how to separate layers and recommended settings for various materials. If the seller provides a sample file for testing, take advantage of it. This small step can save you from purchasing a bundle that does not meet your technical requirements.
Remember that the goal of using Make Up Numbers 3D SVG is to elevate your creations, not complicate them. By taking the time to understand the file structure, verifying compatibility, and planning your material usage, you ensure that your projects—from birthday celebrations to branded merchandise—look polished and professional. With the right approach, this versatile assortment becomes a powerful tool in your creative arsenal, allowing for boundless imagination and countless successful creations.